Keeping an aquarium is not just about the beauty and tranquility of the underwater world, but also about the responsibility of taking care of aquatic creatures. One of the vital parts of aquarium care is changing the tank water. As a beginner, you might feel overwhelmed by the process, but it’s not that complicated once you know how to do it.
Think of it as changing the sheets on your bed or taking a shower, only this time, you’re doing it for your finned friends. In this article, we’ll guide you through all the steps you need to follow to change your aquarium’s water like a pro! Get ready to learn some handy tips and tricks that can help you maintain a clean and healthy aquarium for your adorable fish.
Equipments Needed
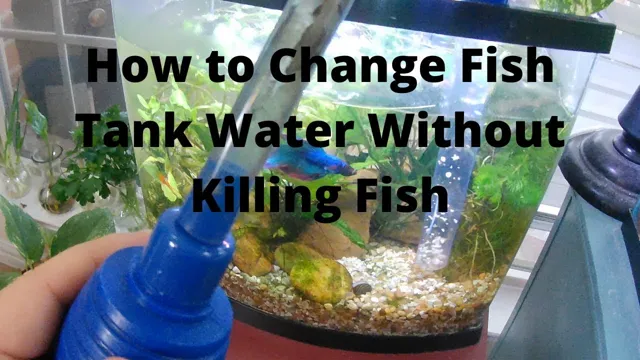
To successfully change the water in your aquarium tank, there are specific equipments you’ll need to get the job done. First of all, you’ll require a siphon hose which will help you to drain the water from the tank. This gadget sucks water from the tank and empties it into a bucket for disposal.
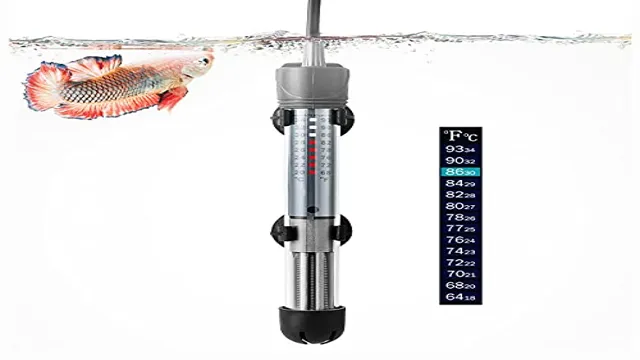
Secondly, you’ll need a water conditioner to treat the new water you’ll be adding to the tank. This chemical compound helps to eliminate chlorine present in the tap water before adding it to the tank and makes it safe for your aquatic pets. You’ll also need a thermometer to monitor the temperature of the new water you’ll be putting into the tank.
It’s essential to match the temperature of the new water with the current temperature in the tank to prevent stressing your fishes. Finally, a bucket to hold the old water will come in handy. It’s advised not to pour the old water down the drain as it may be harmful to the environment.
With these four simple tools, you are ready to change your aquarium tank water effectively.
Water Testing Kit
A water testing kit is an essential tool for anyone who wants to ensure the safety of their water. The kit contains several pieces of equipment that work together to help you test the quality of your water. The first piece of equipment you’ll need is a pH meter.
This measures the acidity or alkalinity of your water and helps you determine if it’s within a safe range. Another essential tool is a total dissolved solids meter, which measures the concentration of dissolved particles in your water. These particles can include minerals, salts, and other impurities that can impact the taste, smell, and overall quality of your water.
In addition to these tools, a water testing kit will usually come with other equipment such as measuring cups, pipettes, and a thermometer. With all of these tools at your disposal, you’ll be able to test your water thoroughly and accurately, ensuring that it’s safe for you and your family to use and drink.
Siphon Tube
When it comes to brewing coffee, a siphon tube can be a valuable tool for creating a smooth and flavorful cup of joe. But before diving into the brewing process, it’s important to have the right equipment on hand. First and foremost, you’ll need a siphon tube, which includes a brewer and a filter.
Additionally, a heat source such as a stove or butane burner will be necessary for heating the water during the brewing process. A burr grinder is also recommended for grinding your coffee beans to the appropriate size. Other optional accessories include a timer to ensure precise brewing times and a scale to measure the coffee and water ratios.
With the proper equipment, you’ll be on your way to enjoying a delicious cup of coffee made with a siphon tube.
Bucket
When it comes to bucket lists, there are certain equipments that you should have to make the most out of your adventures. First and foremost, you need a durable and reliable bucket. Whether you’re planning on fishing, camping, or just going for a hike, a sturdy bucket can come in handy in various ways. (See Also: How to Clean Aquarium Decor: Tips and Tricks for a Sparkling Tank)
It can be used to store your catch, carry water, or even serve as a makeshift seat. Additionally, a high-quality lid can prevent spillages and keep your belongings safe and secure. Another essential tool is a rope or cord to tie the bucket to your backpack or belt, making it easier to carry around.
With these basic equipments in hand, you can maximize your bucket list experiences and make lasting memories. So, don’t forget to pack a good bucket on your next adventure!
Step-by-Step Guide
Changing the water in your aquarium tank is an essential part of maintaining your fish’s health and ensuring a clean environment. Here’s a step-by-step guide on how to change aquarium tank water. First, gather your supplies, including a siphon, a water treatment conditioner, a bucket, and a sponge.
Next, unplug any electrical equipment in your tank and remove about 25% of the water, being careful not to disturb the substrate or decorations. Then, use the siphon to vacuum debris and waste from the bottom of the tank, being sure to remove any excess food or plant matter. Refill the tank with fresh, treated water, matching the temperature and pH levels of the existing water.
Finally, plug in any electrical equipment and turn on the filtration system. With these simple steps, you can maintain a healthy and thriving aquarium environment for your fish. So, start changing your aquarium tank water regularly to keep your aquatic pets happy and healthy.
Step 1: Testing the Water
Testing the water is the first crucial step in setting up an aquarium. Properly testing the water parameters before adding any fish or plants is essential to ensure their health and well-being in the long run. There are several water parameters that need to be tested, such as pH, ammonia, nitrite, and nitrate levels.
These parameters can be measured using a test kit, which is easily available in any pet store or online. Once you have the test kit, take a small sample of water from your aquarium and follow the instructions to perform the tests. It’s important to note that the results may vary depending on the type of fish and plants you plan to keep.
For example, some fish prefer a more acidic environment, while others thrive in a more alkaline environment. Understanding the water parameters and how they affect your aquarium’s inhabitants is crucial for a successful and healthy aquarium. So, take the time to test, understand, and maintain your aquarium’s water parameters, and you’ll be on your way to a thriving underwater world.
Step 2: Turning off the Equipment
Turning off equipment properly is crucial for maintaining its longevity and minimizing the risk of accidents. Here is a step-by-step guide on how to do it. First, make sure to unplug the device or turn off the power source.
If the equipment is battery-powered, remove the batteries. Next, allow the equipment to cool down before moving it. This is especially important for electronics like computers, which can overheat if not properly cooled.
Store the device in a dry and secure location. Avoid leaving it in direct sunlight or where it could be damaged by moisture. Properly shutting down equipment not only keeps it in good condition but also helps conserve energy and may save you money on your utility bills. (See Also: How to Fix a Cracked Fish Aquarium with Caulk: A Step-by-Step Guide)
So, make sure to take the time to turn off your equipment correctly every time.
Step 3: Siphoning the Water
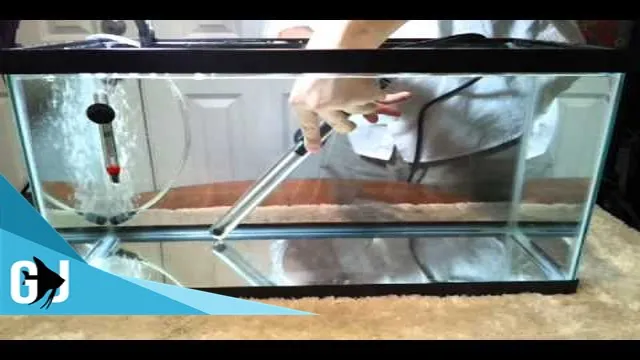
Now that the aquarium is drained, it’s time for the next step – siphoning the water. Siphoning may seem like a hassle, but it’s essential to maintain your aquarium’s cleanliness properly. When siphoning, there are several key factors to consider.
First, you’ll need to place the siphon hose into the aquarium and begin to suck on the other end of the hose. Be cautious while doing this, as ingesting aquarium water can be harmful to your health. Once you’ve primed the siphon and water starts to flow, the next step is to remove debris and detritus from the bottom of the tank.
You can do this by gently stirring the substrate and removing as much debris as possible. Be sure to get all the corners and hard-to-reach areas. Once you’ve cleared out all the debris, it’s time to remove the water.
Use the siphon hose to vacuum out the old water, being careful not to remove too much, as you’ll need to leave some water to help maintain your beneficial bacteria colonies. By siphoning your aquarium’s water regularly, you’ll remove waste and debris from your tank, ensuring the overall health and wellbeing of your fish and aquatic life.
Step 4: Refilling the Tank with Fresh Water
After you have drained the tank and cleaned all the components, it’s now time to fill it with fresh water. Begin by closing the drain valve and removing the hose. Next, locate the water inlet valve and turn it on, allowing water to flow into the tank.
Keep an eye on the water level and avoid overfilling the tank. Once the water level reaches the appropriate level, turn off the water inlet valve. It’s important to note that you should inspect the condition of the water before refilling the tank.
If the water contains impurities, using a water filtration system can help improve its quality. Additionally, treating the water with chemicals suitable for your tank can help prevent the growth of bacteria and other harmful microorganisms. After refilling the tank with fresh water, turn on the main power source and test the system’s functionality to ensure that everything is working correctly.
With these steps, your tank will be ready to use.
Step 5: Adding Water Conditioner and Salt (if needed)
After filling your aquarium with tap water or RO/DI water, it’s important to add water conditioner to remove harmful chemicals and metals, such as chlorine and chloramines, from the water. Different brands of water conditioner may have specific instructions, so make sure to read the label carefully before use. Some water conditioners also contain beneficial bacteria that can help establish a healthy bacterial colony in your aquarium.
In addition, if you have a saltwater aquarium, you may also need to add salt to achieve the appropriate salinity level. It’s important to use the correct type of salt and to measure it accurately to prevent any adverse effects on your fish and other aquatic inhabitants. Once you’ve added the necessary water conditioner and salt (if applicable), give the water a thorough mix to ensure everything is dissolved evenly.
Remember to always test the water parameters regularly to ensure a healthy living environment for your aquarium inhabitants. (See Also: How to Build Homemade Aquarium Filter: Step-by-Step Guide for Affordable Filtration System)
Conclusion
Changing your aquarium tank water is like giving your fish a refreshing spa day – it keeps them happy and healthy! With the right tools and know-how, you can easily perfect the art of this aquarium maintenance task. So, next time you find yourself standing by your fish tank, just remember that a little bit of love and care goes a long way in creating a thriving underwater world for your aquatic friends. Happy changing!”
FAQs
How often should I change the water in my aquarium tank?
It is recommended to change the water in your aquarium tank at least once a week.
What tools do I need to change the water in my aquarium tank?
You will need a siphon, a bucket, and a water conditioner to change the water in your aquarium tank.
How do I prepare the new water before adding it to my aquarium tank?
You should add a water conditioner to the new water and let it sit for at least 24 hours to allow it to reach room temperature and remove any chemicals.
How much water should I change at a time in my aquarium tank?
It is typically recommended to change between 10-20% of the water in your aquarium tank at a time.
Can I use tap water to fill my aquarium tank?
Yes, but it is important to use a water conditioner to remove any harmful chemicals or minerals that may harm your fish.
What should I do if the water in my aquarium tank is cloudy after changing it?
Cloudy water after a water change may be a result of overfeeding or changing too much water at once. Try reducing feedings and only changing a smaller amount of water.
Should I remove my fish from the aquarium tank when changing the water?
It is not necessary to remove the fish from the aquarium tank when changing the water, but it may be less stressful for them if you do.

