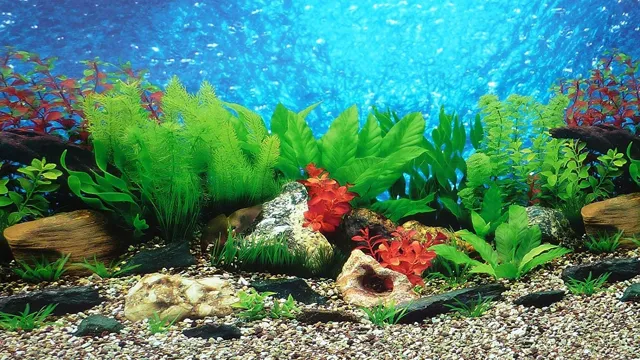
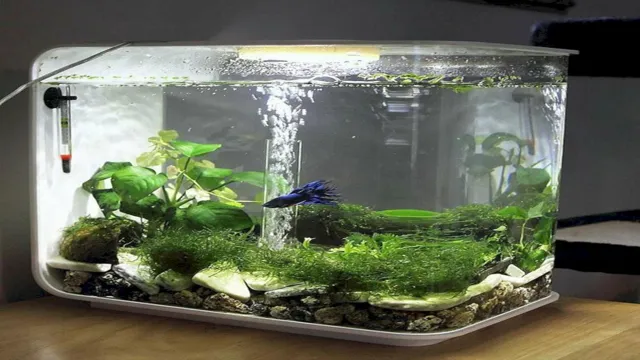
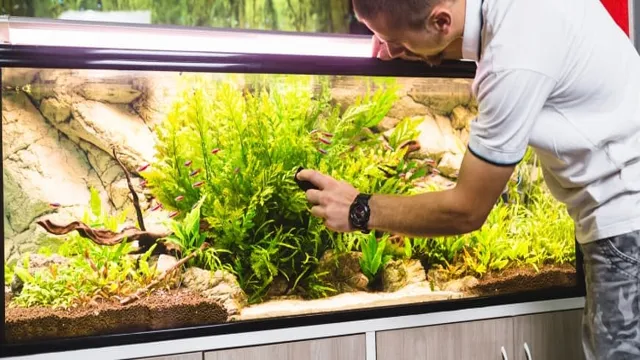
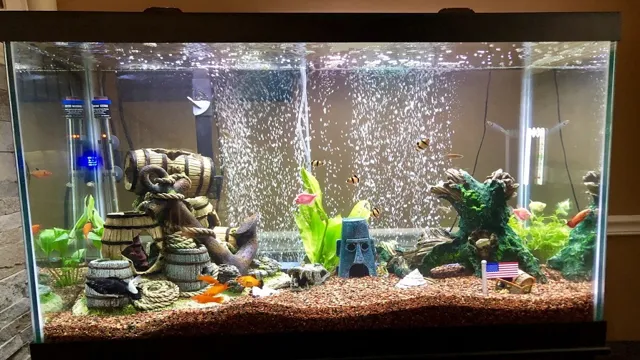
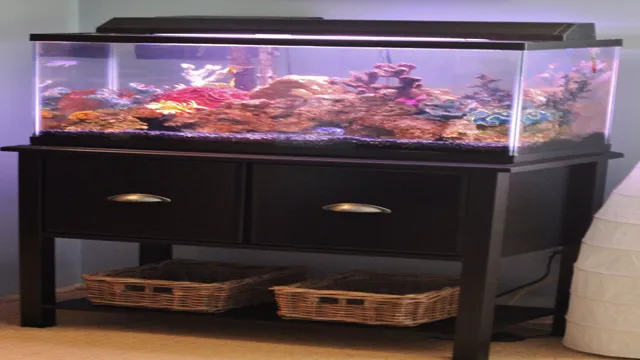
I have always found aquariums to be a magical place, filled with stunning colors and mesmerizing sea creatures. However, have you ever looked at the back of an aquarium and thought it was too plain or uninteresting? Well, I have a solution for you! Why not create your own aquarium background poster to spice things up? Not only will a customized poster add visual appeal to your aquarium, but it also provides a perfect opportunity for you to flex your artistic muscles. Imagine being able to design your own underwater world and have it as the backdrop for your aquatic friends.
The possibilities are endless! In this blog post, I will guide you through the steps to create your own aquarium background poster. From choosing the right materials to designing the perfect scene, I will provide you with all the tips and tricks to ensure you end up with a stunning masterpiece. So, let’s dive in and bring your aquarium to life!
Materials you’ll need
If you’re looking to make your own aquarium background, you’ll need a few materials to get started. Firstly, you’ll need a large piece of poster board or foam board that you can use as your base. You’ll also need scissors or a craft knife to cut out your design, as well as a ruler or measuring tape to ensure accuracy.
Adhesive materials like glue or double-sided tape will be necessary to attach your background to the aquarium. Additionally, you may want to consider using colored markers or paint to add some detail and personalization to your design. With these materials in hand, you’ll be ready to create a beautiful and unique aquarium background that is sure to impress your aquatic inhabitants and those who observe them.
So, why not give it a try and see what kind of amazing designs you can come up with?
Poster board or contact paper
When it comes to creating posters, one of the most important decisions to make is choosing the right materials. Two commonly used options are poster board and contact paper. Poster board is a thick paper that’s sturdy and provides a good surface for writing and drawing.
It’s also available in a range of colors and sizes, making it easy to find one that works for your needs. Contact paper, on the other hand, is a self-adhesive material that can be cut to various shapes and sizes. It’s great for creating custom designs and graphics, and can be easily removed if you need to make changes.
When deciding between poster board and contact paper, consider your project’s specific needs and choose the material that best suits them. Whether you go with poster board or contact paper, you’ll have a solid foundation for creating a standout poster that gets noticed.
Scissors and/or paper trimmer
When it comes to crafting, a pair of scissors and/or a paper trimmer are essential tools to have. These materials are useful when it comes to cutting various types of paper, cardstock, and other materials required for your project. Scissors come in several types, including straight, serrated, and decorative.
Straight scissors are the most common type and ideal for cutting simple shapes and straight lines. Serrated scissors are great for cutting through thicker materials, while decorative scissors are perfect for adding a unique edge to your paper creations. Meanwhile, paper trimmers are necessary when you need a straight and clean cut for your paper.
They come in different sizes and types, such as guillotine and rotary paper trimmers, and are suitable for cutting large sheets of paper quickly and accurately. So, whether you are creating intricate paper cut-outs or working on scrapbooking projects, make sure you have these tools on hand to help you achieve your crafting goals.
Aquarium-safe sealant glue
When building or repairing an aquarium, it’s crucial to use the right materials to ensure the safety and well-being of your aquatic pets. One important material to have is an aquarium-safe sealant glue. This glue is specifically designed to be safe for use in aquariums and won’t harm the fish or other living creatures in the water.
So, what materials do you need to use this specialized glue? First and foremost, you’ll need the aquarium-safe sealant glue itself. Additionally, you’ll need a clean and dry surface to apply the glue, as well as a caulking gun (if you’re using a tube of glue), and perhaps a small paintbrush to spread the glue evenly. It’s important to read the instructions on the glue carefully, as different brands may have slightly different application methods.
With the right materials and some careful application, you can rest assured that your aquarium is safe and secure for all its inhabitants.
Printed image of aquarium background
If you’re looking for an affordable way to add some depth to your aquarium, printed backgrounds can be a great solution. To get started, you’ll need a few materials. First, you need the image you want to use.
You can find countless options online or even create your own design. Once you have your image, you’ll need to print it out on high-quality paper or vinyl. If you choose vinyl, you’ll also need a plastic scraper to smooth out any air bubbles that may form during installation.
Finally, you’ll need some double-sided adhesive tape or aquarium-safe silicone to attach the background to the back of your tank. With the right materials, you can create a beautiful underwater scene that will enhance your aquarium and give your fish a more natural habitat to thrive in. So why not give it a try and transform your fish tank today?
Preparing the poster board or contact paper
If you’re looking to create an aquarium background poster, one of the first steps is to prepare your poster board or contact paper. Choose a material that is sturdy enough to withstand the weight of water and won’t easily tear or warp. Next, clean the surface thoroughly with soap and water to remove any dirt or debris. (See Also: How to Aircondition an Aquarium: A Step-by-Step Guide for Optimal Water Temperature)
Once it has dried, you can begin your design process. You could draw your design by hand, or if you have access to a printer, you could print out an image or use stencils. Using acrylic paint or markers, carefully paint over your design, taking care to fill in any gaps and ensure that the colors blend seamlessly.
When you’re finished, let the paint dry completely before adding additional layers or attaching it to your aquarium. By taking the time to prepare your poster board or contact paper properly, you’ll be on your way to creating a beautiful and unique aquarium background poster.
Measure the dimensions of your aquarium
When it comes to creating a background for your fish tank, the first step is to measure the dimensions of your aquarium. This will help you determine how much poster board or contact paper you’ll need to buy. Once you have your measurements, it’s time to prepare your poster board or contact paper.
For poster board, you’ll want to select a color or design that will complement your aquarium and make it stand out. Cut the poster board to size using a pair of scissors or a utility knife, then use tape or aquarium-safe glue to attach it to the back of your tank. If you’re using contact paper, start by selecting a pattern or color that works with your aquarium.
Measure and cut the contact paper to the size of your tank, and then carefully apply it to the back of your aquarium. It’s important to take your time and smooth out any air bubbles to ensure a clean, professional-looking finish. Once your background is in place, take a step back and admire your handiwork.
Your aquarium will now have a beautiful, personalized look that will make your fish feel at home. With a little creativity and some basic materials, you can create a stunning background that will bring your aquarium to life.
Cut the poster board or contact paper to fit
When it comes to preparing your poster board or contact paper for your project, it’s important to take the time to cut it to fit your desired size. This can be done with a pair of scissors or a paper cutter. First, measure the size you need, and then cut the poster board or contact paper to fit.
It’s important to make sure that the edges are straight and even, as this will help your project look more professional. If you’re using contact paper, it’s also important to make sure that it’s fully adhered to the surface you’re using, as this will help prevent any air bubbles or wrinkles from forming. Taking the time to properly prepare your poster board or contact paper can help ensure that your project turns out exactly as you envisioned it.
So take your time, use the right tools, and be sure to measure carefully to get the best results.
Apply the aquarium-safe sealant glue to the back
When it comes to creating a custom backdrop for your aquarium, the first step is to prepare the poster board or contact paper that will serve as your base. Whether you opt for poster board or contact paper will largely depend on your personal preference, but both materials can work equally well as long as they are aquarium-safe. Before applying any sealant glue, it is important to clean your poster board or contact paper thoroughly to ensure that it is free from dirt, dust, and debris.
Once it is clean, you can begin applying the aquarium-safe sealant glue to the back of the poster board or contact paper. This sealant will help to prevent any water damage or deterioration to your backdrop over time, while also providing a strong adhesive bond to ensure the backdrop stays securely in place. With careful preparation and attention to detail, you can create a stunning and unique backdrop for your aquarium that will provide both visual interest and a safe and healthy environment for your aquatic pets to thrive.
Printing the background image
If you’re looking to create a beautiful aquarium background poster, you might be wondering how to print the background image. First, make sure you find a high-quality image that will look amazing blown up to poster size. Once you have your image, you need to print it using a high-quality printer that can handle large format printing.
Make sure to choose a printer that can print on the type of paper or vinyl that you plan to use for your poster. You can also consider using a professional printing service if you don’t have access to a large format printer. Once you have your image printed, you can then adhere it to the back of your aquarium using clear tape or a quality adhesive.
With a little patience and creativity, you can create a stunning aquarium background that will make your fish feel right at home.
Search online and save the image to your computer
Printing the background image requires you to have access to a suitable image that you can use. To start this process, you need to search for an appropriate image online. This search may involve looking for high-quality images that meet your specific needs, including the size and resolution requirements.
Once you have found the right image, you should save it to your computer so that you can use it as a background image during printing. To save the image, you can right-click on it to access the save option, after which you can choose the folder to save it in. After you have saved the image, you should be ready to print it. (See Also: How to Build a Saltwater Aquarium: A Step-by-Step Guide for Beginners)
It’s important to remember that the quality of the printing will depend on the size and resolution of the image that you choose. Therefore, it’s recommended that you choose an image with a high resolution and adequate size to ensure that the final printout looks great.
Print the image to the necessary size
One of the most important steps in creating a visually appealing print design is making sure that the background image is printed to the necessary size. This involves careful consideration of the dimensions of the image and the final printed product. If the image is not printed at the correct size, it can result in a poor-quality print with distorted or pixelated images.
To ensure that your background image is printed correctly, it is essential to work with a high-resolution image that is at least 300 DPI. This will ensure that the image will print at a high-quality resolution and will not lose its sharpness during the printing process. Additionally, it is important to consider the bleed of the image, which is the area that extends beyond the final trim size of the print.
By allowing for a bleed in your design, you can ensure that the final print will have a clean edge with no white border. With careful planning and attention to detail, you can print your background images to the necessary size and create a stunning print design that will impress your audience.
Carefully trim the edges to fit the poster board
When it comes to creating a poster board, it’s important to ensure that the background image is printed correctly. After selecting the image that you want to use as the background, it’s time to print it out. Depending on the size of your poster board, you may need to spread the image across multiple sheets of paper.
Make sure that you align the sheets correctly so that there aren’t any gaps or overlaps. Once the image is printed to your satisfaction, it’s time to carefully trim the edges to fit the poster board. This step is essential for creating a clean and professional-looking final product.
Using a ruler and a sharp blade, carefully slice off any excess paper around the edges of the image. Be sure to take your time and work slowly to avoid making any mistakes. With the background image printed and trimmed, you’re well on your way to creating an eye-catching and effective poster board.
Keywords: poster board, background image, printing, trim, edges.
Assembling the poster
If you’re looking to add some personality to your aquarium, creating an aquarium background poster can make a huge difference. Not to worry, it’s an easy and fun DIY project that anyone can do! First, gather all of your materials – a large sheet of poster board, acrylic paint, and paintbrushes. Once you have your materials, it’s time to begin creating your design.
Think about what kind of environment you want to create; will it be a coral reef, deep-sea cave, or tropical paradise? This is where you can let your creativity shine. Begin sketching out your design with pencil lightly, and then begin filling it in with acrylic paint. Remember to add texture and depth to your design for a more realistic look.
Once you’re happy with the finished product, let it dry for a day or two before placing it in your aquarium. Voila, you’ve now customized your aquarium with a unique and personalized background poster!
Apply the background image to the poster board
To assemble a stunning poster that grabs attention and conveys your message effectively, you need to apply the background image to the poster board. Before starting, make sure the background image fits the poster size and resolution requirements, so you don’t end up with a pixelated or stretched image. To apply the background image, you have a few options.
One way is to use spray adhesive to attach the background directly to the board. Another option is to use a laminator to fuse the image onto the board. If you don’t have access to either of these tools, you can simply use double-sided tape or glue dots to attach the image to the board.
Make sure to smooth out any wrinkles or air bubbles on the surface and trim off excess material around the edges for a polished finish. Remember, the background sets the tone for the entire poster, so choose an image that complements your message and appeals to your target audience. With a well-designed background, your poster is sure to stand out from the crowd and get noticed by your intended audience.
Smooth out any wrinkles or bubbles
When it comes to assembling a poster, it’s important to take your time and do it right, especially if you want it to look professional and sleek. One of the key steps in this process is smoothing out any wrinkles or bubbles that may appear during the assembly process. This can be done by carefully repositioning the poster and using your hands to smooth out any imperfections.
If you’re using glue or adhesive, be sure to apply it evenly to avoid creating any bumps or air pockets that could cause wrinkles later on. Remember, the goal is to create a clean, polished look for your poster that will grab attention and convey your message effectively. So take your time, use a steady hand, and be patient as you work through the assembly process.
With a little effort and attention to detail, your poster will be ready to display in no time! (See Also: How to Acclimate Saltwater Fish to an Aquarium: A Comprehensive Guide for Beginners)
Allow the glue to dry completely
When it comes to assembling a poster, one of the most important steps is allowing the glue to dry completely. It may be tempting to rush through the process, but taking the time to let the glue dry ensures that your poster will stay together and look professional. Depending on the type of glue you use, it may take anywhere from a few minutes to a few hours for the glue to dry completely.
It’s important to follow the instructions on the glue bottle and avoid moving the poster before the glue has fully set. Once the glue is dry, you can add any finishing touches or decorations to your poster to make it stand out even more. So be patient and allow your glue to dry completely for the best results!
Attach the poster to the back of your aquarium
When it comes to decorating your aquarium, adding a poster can be an excellent way to change the look and feel of your tank. Assembling the poster may seem like a daunting task, but it’s relatively simple. First, start by unfolding the poster and laying it flat.
Measure the back of your aquarium and cut the poster to fit if necessary. Next, use double-sided tape or adhesive to attach the poster to the back of your aquarium. Ensure that the edges align correctly and that there are no air bubbles trapped underneath the poster.
It’s important to note that the poster should be attached to the back of the tank and not in the water. You don’t want the poster’s ink or materials to contaminate the aquarium water or harm your fish. Following these simple steps will transform your aquarium into a beautiful and unique underwater landscape that you and your fish will enjoy.
Conclusion
In conclusion, creating your own aquarium background poster is easier than you think! With a little bit of creativity, patience, and the right materials, you can elevate your aquarium to a whole new level. Just remember, the key to a successful poster is to think outside the tank and let your imagination swim free. So dive in, start creating, and watch your fishies and friends enjoy their new, one-of-a-kind underwater world!”
FAQs
What materials do I need to make an aquarium background poster?
You will need a poster board, aquarium-safe silicone, and natural-looking materials like rocks, gravel, or driftwood.
Do I need to paint the poster board before starting the background?
No, you don’t need to paint it since the natural materials will serve as the color and texture of your background.
Can I use artificial materials in making the background?
Although it’s possible, natural materials will give a more realistic look to your aquarium and make the fish feel more at home.
How do I attach the natural materials to the poster board?
Apply the aquarium-safe silicone to the back of the natural materials and firmly press them onto the poster board. Let the silicone dry before proceeding.
Can I create a 3D effect with my aquarium background poster?
Absolutely! You can opt for a layered effect by adding more materials at the front and fewer at the back to create depth.
How long do I need to wait for the silicone to dry before putting it into the aquarium?
It usually takes 24 to 48 hours for the silicone to cure completely, so make sure to let it dry for at least a day before adding it to the aquarium.
Will the aquarium background poster affect the water quality in my tank?
No, as long as you’re using aquarium-safe materials and silicone, the background poster won’t affect the water quality. Just make sure to rinse it well before adding it to the aquarium.

